How Final Finish® Works

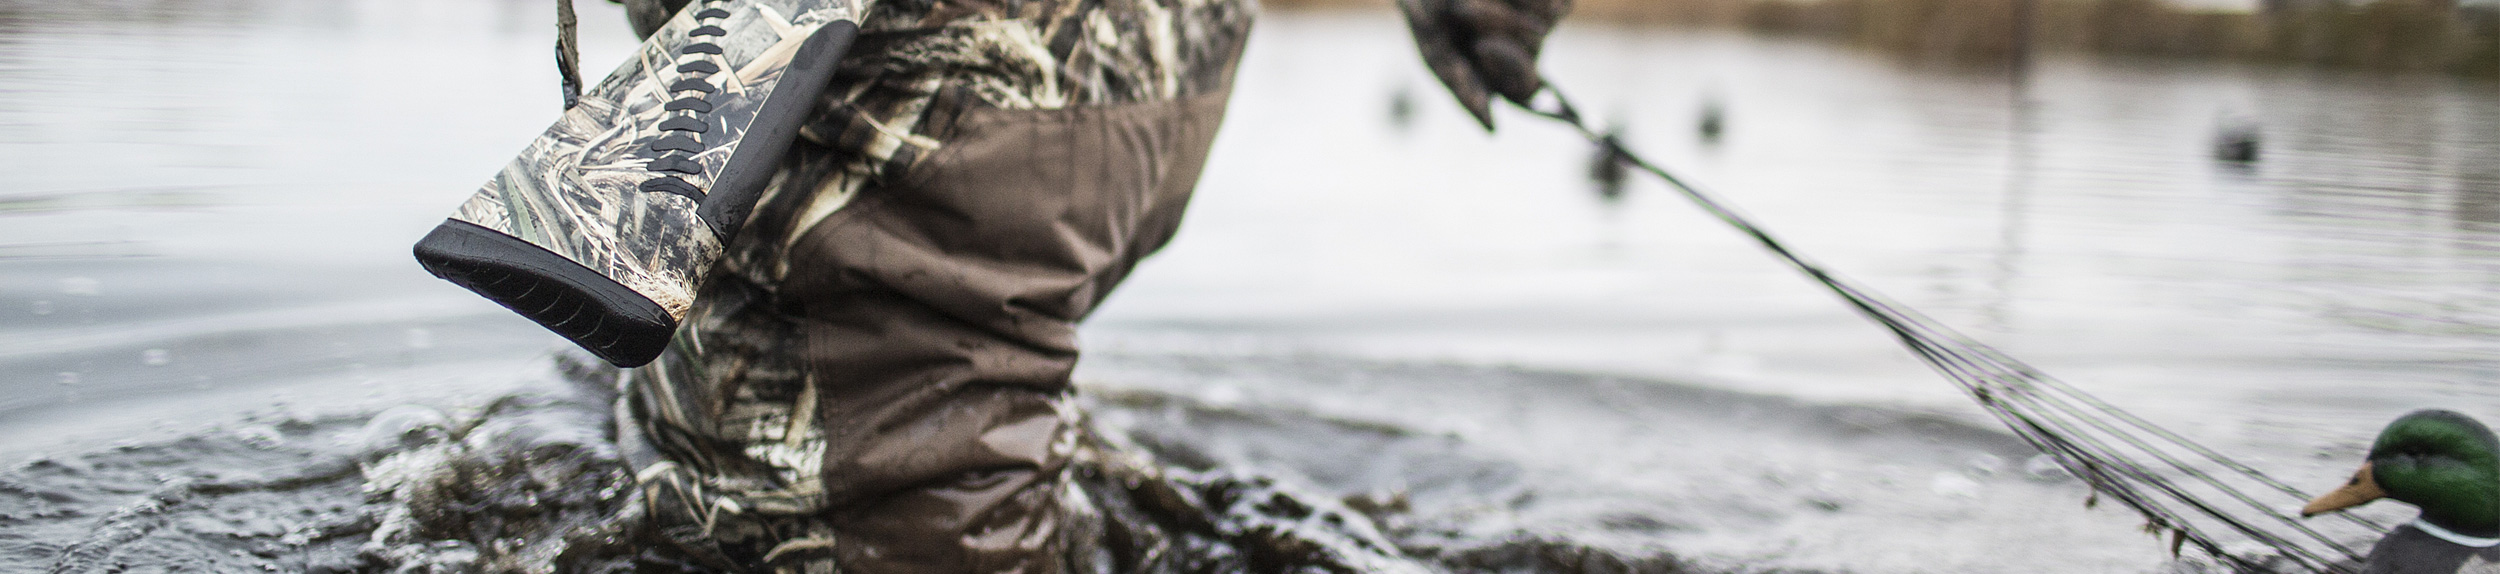
Automotive, home goods, electronics, entertainment and sporting goods industries have turned to Immersion Graphics to give their products added value and eye appeal. Final Finish® can make a world of difference in the look of nearly anything including bicycle helmets, gun stocks, barbecue grills, water bottles and welding helmets. Easily transform any nonporous surface, including rubber, metal, wood and plastic.

5 Steps to Stand Out

Our process begins with engineering the proper tools that are used throughout the process. From there, the magic happens under extremely skilled hands. 

7 Steps to Stand Out

Our process begins with engineering the proper tools that are used throughout the process. From there, the magic happens under extremely skilled hands. 


circle-1Pick a Pattern:
Immersion Graphics offers hundreds of patterns that range from Realtree® camouflage to wood grains, marbles and metallics. If you can’t find one you like, we will design a pattern for you. Once chosen, it is digitized and printed as an exact replica on film.


circle-2Prep a Product: Preparation is key to a successful water transfer. Most product surfaces are cleaned before applying a special primer, which adheres to the item and accepts the inks of the printed decoration. If necessary, objects to be printed are base painted. This determines the pattern’s color, such as the green in camouflage or the brown used in a wood grain.


circle-3Image Orientation: The pattern or image is printed on water-soluble polyvinyl film and placed in a vat designed specifically for water-transfer printing. This part of the process is managed either manually or is automated. Sliding baffles keep the printed film in place to achieve a good decoration.


circle-4Activation: Printed film is sprayed with a chemical activator, which dissolves the film, allowing the pattern to float on water. The chemical activator is placed on the film using the Final Finish® patented activation system. The activator re-wets the inks and the water-soluble film begins to dissolve.


circle-5Immersion: As the product is immersed, water follows the contours of the product being dipped, and the transfer of the pattern to the product is complete.


circle-6Rinsing & Drying: Next, the product is removed from the water and rinsed to remove excess film or residue.


circle-7Clear-Coating: The design is then covered in top- quality clear coat to give the product a glossy or matte shine, and to protect it from UV rays and chemicals. When the final coat has dried, the object is sanded and polished to shine.

ig-step1
Pretreatment: Thoroughly clean and prepare your product. Some product substrates may require a special primer to ensure proper adhesion.
ig-step2
Base Coat & Cure: Apply the desired base coat to the product. The base coat will determine the background color and impact the final look of your product.
ig-step3
Film – Activator – Transfer: Place the film on the water and apply activator. Carefully immerse the product into the water to allow the printed image to transfer onto the product.
ig-step4
Rinse & Dry: Remove the product from the water and thoroughly rinse to remove excess film or residue. Let product dry completely.
ig-step5
Top Coat & Cure: Apply a top coat to the product to seal in the inks and to protect the transferred image from UV rays and chemicals.